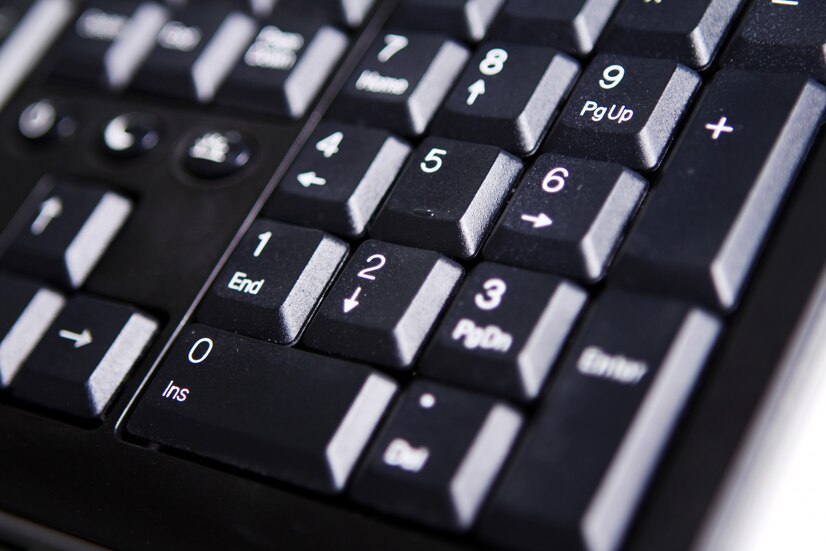
Keeping your keyboard clean is essential for both aesthetics and functionality. One of the most overlooked aspects of keyboard maintenance is the cleaning of the keyboard caps. Over time, keyboard caps can accumulate dust, grime, and other debris, which can affect your typing experience and even lead to hygiene concerns. In this article, we will walk you through the necessary steps to effectively clean your keyboard caps, ensuring they look good and function well for the long haul.
In this guide, we will cover everything from the tools you need, to the best methods for cleaning different materials, to tips for preventing future buildup. Whether you have a mechanical keyboard with removable caps or a laptop keyboard, this article will provide you with the information you need to keep your keyboard in top condition.how to connect logi keyboard
Understanding the Importance of Cleaning Keyboard Caps
Cleaning your keyboard caps is vital for maintaining not just the appearance of your keyboard, but also its performance. Dust, crumbs, and other debris can accumulate beneath the keys, making it difficult to press them smoothly and accurately. This can lead to frustration while typing and may even cause keys to stick or malfunction over time. Regular cleaning helps prevent these issues and prolongs the lifespan of your keyboard.
Moreover, a clean keyboard can contribute to better hygiene. Keyboards are often hotspots for bacteria and germs, especially if shared among multiple users. Cleaning the caps can significantly reduce the risk of spreading germs and help create a healthier workspace. Therefore, incorporating regular keyboard cap cleaning into your maintenance routine is essential for both functionality and hygiene.
Tools and Materials Needed for Cleaning Keyboard Caps
Before you begin the cleaning process, it’s important to gather the necessary tools and materials. You will need a few basic items: a keycap puller, soft microfiber cloths, a small bowl, warm water, mild dish soap, and rubbing alcohol. The keycap puller is essential for safely removing the caps without damaging the switches underneath. Microfiber cloths are ideal for wiping down the surface without scratching.
For deeper cleaning, you may want to have a soft brush or an old toothbrush on hand. This will help you dislodge stubborn dirt from crevices. Additionally, cotton swabs can be useful for cleaning tight areas around the keys. Having these tools ready before you start will streamline the cleaning process and ensure that you can effectively tackle any grime present on your keyboard caps.
Preparing Your Workspace for Keyboard Cleaning
Before diving into the cleaning process, it’s essential to prepare your workspace. Choose a well-lit area with a flat surface where you can comfortably work. Lay down a clean cloth or an old towel to catch any debris that may fall during the cleaning process. It’s also a good idea to keep a small bowl or container nearby to hold the removed keycaps, preventing them from getting lost.
Additionally, ensure that your keyboard is powered off or unplugged to avoid any accidental inputs while cleaning. If you’re working on a laptop, disabling the touchpad can help prevent unintended actions. Taking these precautions will help you maintain organization and efficiency during the cleaning process.
Removing Keyboard Caps: A Step-by-Step Guide
Removing keyboard caps can seem intimidating, especially if you’re unfamiliar with the process. Start by using the keycap puller and gently slide it under the edge of a keycap, applying even pressure to lift it off. Be cautious not to pull too hard or you may damage the key or the underlying switch. If you’re dealing with stabilizer keys (like the space bar), it may require additional care since they are often more complex to remove.
Once one keycap is successfully removed, continue working your way through the rest of the keyboard, taking care to remember the positions of each key. A good practice is to take a photo of your keyboard before removal, which will help you reassemble it accurately later. Place the removed caps in your container as you go to keep everything organized and prevent any caps from getting lost.
Cleaning Techniques for Different Keyboard Cap Materials
Keyboard caps come in various materials, including ABS (Acrylonitrile Butadiene Styrene), PBT (Polybutylene Terephthalate), and more. The cleaning technique may vary slightly depending on the material. For ABS caps, a mild dish soap solution is typically sufficient. Soak the caps briefly in warm, soapy water and use a soft brush to scrub any stubborn spots.
For PBT caps, which are generally more durable, you can use a stronger cleaning solution if needed, like a mix of water and isopropyl alcohol. This helps in removing oils and grime without damaging the plastic. Regardless of the material, always ensure the caps are rinsed thoroughly and dried completely before reassembling them onto the keyboard.
Drying Keyboard Caps After Cleaning: Best Practices
Once you have cleaned your keyboard caps, it is crucial to dry them properly before reassembly. After rinsing the caps under clean water, place them on a clean microfiber cloth or a paper towel to absorb excess moisture. Avoid stacking the caps on top of each other, as this can trap water and lead to mold or mildew.
For thorough drying, consider placing the caps in a well-ventilated area or using a fan to speed up the process. Ensure they are completely dry to the touch before reattaching them to the keyboard, as any residual moisture can damage the switches or cause electrical issues.
Preventing Dust and Grime Buildup on Keyboard Caps
To minimize the effort required for extensive cleaning sessions, it is beneficial to adopt preventative measures. One effective strategy is to use a keyboard cover. A silicone or fabric cover can help keep dust and debris from settling on your keyboard when it’s not in use. Make sure to choose a cover that fits snugly and allows for easy typing without obstructing the keys.
Another simple habit is to regularly wipe down your keyboard with a microfiber cloth. This helps remove dust and oils before they can accumulate. Additionally, try to keep food and drinks away from your workstation, as spills and crumbs can contribute significantly to grime buildup.
Reassembling Your Keyboard Caps: Tips and Tricks
Once your keyboard caps are clean and dry, the next step is to reassemble them. Refer back to the photo you took before removing the caps to aid in proper placement. Start by aligning each keycap over its corresponding switch, applying gentle pressure until you hear a click indicating that it has snapped back into place. Avoid pressing too hard, as this could damage the switch.
If you’re reassembling a mechanical keyboard, take care to use the correct orientation for each cap, especially those with unique shapes like the spacebar or enter key. If you encounter resistance while pressing a cap down, double-check its alignment before forcing it, as this can lead to breakage if not addressed.
Maintaining Clean Keyboard Caps: Regular Care Tips
To keep your keyboard caps clean over time, establish a regular cleaning routine. A quick wipe-down with a microfiber cloth should be done weekly to remove accumulated dust and oils from your hands. A more thorough cleaning of the caps can be done monthly or bi-monthly, depending on your usage and the environment.
Additionally, consider keeping a small brush or a can of compressed air at your desk to quickly dislodge debris from hard-to-reach areas. This proactive approach can significantly reduce the amount of grime that builds up on your keyboard caps, making your cleaning sessions easier and more effective.
Cleaning your keyboard caps is a straightforward yet essential practice that can enhance your typing experience and promote better hygiene. By following the steps outlined in this guide, you can ensure your keyboard remains in excellent condition, free from dust and grime. Regular maintenance not only improves the appearance of your keyboard but also extends its lifespan. With a little effort and diligence, you can keep your keyboard caps looking as good as new and functioning perfectly for years to come.